
T-Scann 8 - project page
Super 8 / Regular 8 film scanner
New in version 2.1
- Better image setting
- Neg film compensation for orange background color on neg film
Raspberry PI user interface - New ver 2.1 - / settings and operation.
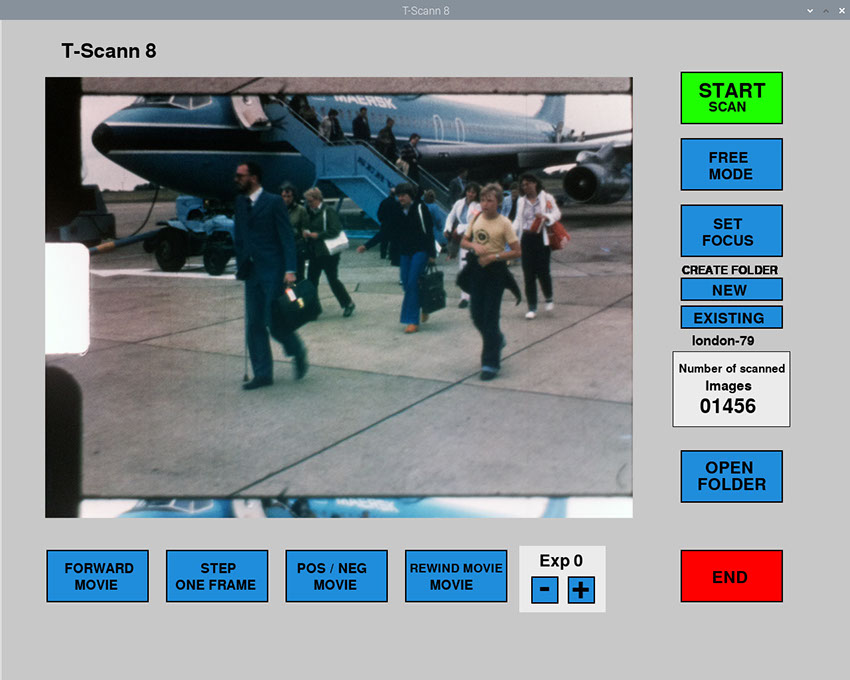
New function - Resume scanning type in the name of the folder in the popup box, enter the last box on previously scanned frames, for example 1230 then the next frame will be scanned 1231. If the last frames from 1200 are to be scanned re-enter 1199, then 1200 and so on will be written over with new frames.
Not sure what the folder was called? check with the "OPEN FOLDER" button.
New function - Drive the film 1 frame, this function is convenient when the film gate is set, so the image is as above.
New feature - Scan negative movie, modern Super 8 movies are negative and provide very good quality.
The Python program is set for the V2 camera
If the HQ camera is used, it is very important to change the program code.
Change the following ...
23 cexp =15000 / Exposure value to 20,000 or what
will be best with your lens
29 camera.sensor_Mode 3 / otherwise the
rames become heavily compressed.
These and other settings can be read
# comments in the program code
Update - The file manager now closes when the "CLOSE FOLDER" button is clicked. Have had problems yourself, gets the wrong message after 2 openings of the folder.
Feel free to email if you get the same error. To disable this feature.
577 #closefm()
The page is made for an older 4:3 monitor, Raspberry PI has output for HDMI, but most older monitors have DVI input. There are cheap adapters to buy to solve this problem.
Important when using the HQ camera
This line changes the mode to 3 otherwise it compresses the jpeg files greatly
camera.sensor_mode=2
675. camera.awb_gains = (1.7, 1.9)
Here is the color correction, may need to be adjusted depending on the movie type
also adjustment of RGB led is good to do
Save frames on hard drive or a fast USB stick.
The easiest way is to use USB memory that does not draw a lot of power
as hard drives do, also applies to SSD drives. It is a bit of a problem to use hard drive if it takes power from Raspberry PI with separate power supply no problem. The disk must be formatted as fat32 which both PC and Mac can read.
py code
Default name of disk is SMALFILM important to name the disk
#Change SMALFILM to any name on disk or USB memory
dir location = '/media/pi/SMALFILM/'
*
*