
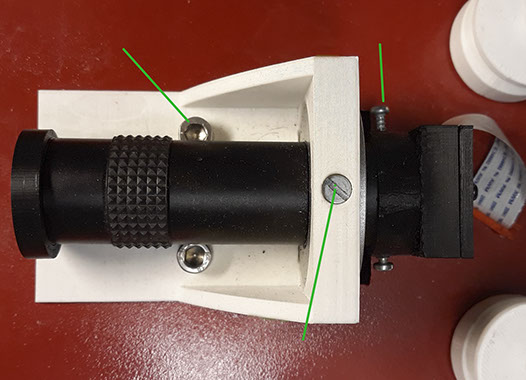
M6 X 20mm 2 pieces
M4 X 6mm
3 pieces hold the lens
metal screw, M3 x 4 mm
2 pieces
Attach‐lens.stl / lens adjustment.stl / Attach‐lens‐bracket.stl
lens adjustment.stl
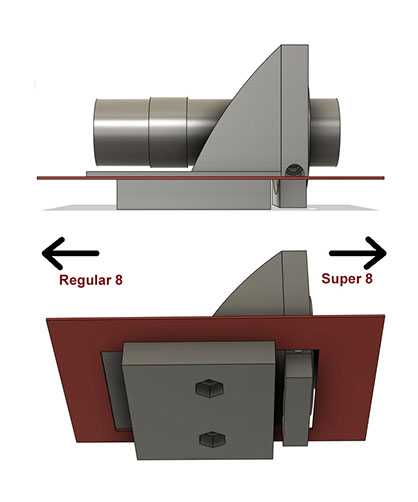
on the left side of the lens, this height adjustment is needed when switching between super8 and Regular8. It is only a 1-2 mm adjustment so this simple construction works. You may need to apply a few thick pieces of tape to the back of the Attach lens
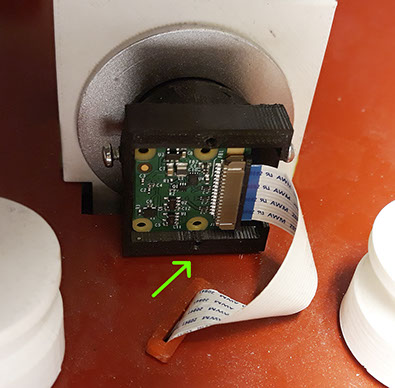
Camera‐mount.stl
Camera ‐ mount.stl
where the Rapberry PI camera V2 will
be located. If necessary, file the edges so that the camera fits
in easily and smoothly.
The arrow shows holes for screws cover 2 pieces of sheet metal screw M2.6 X 5.5mm. The flat cable goes down in the Flat ‐ cable ‐ bushing.stl More about the camera mounting on the side Chassis structure.
NOTE! the original lens on the V2 camera must be unscrewed, then be careful not to get dirt on the sensor, if it is not mounted at once protect it with a piece of tape.
The Raspberry PI camera flat cable that comes with, is too short replace it to a 300 mm or 500 mm
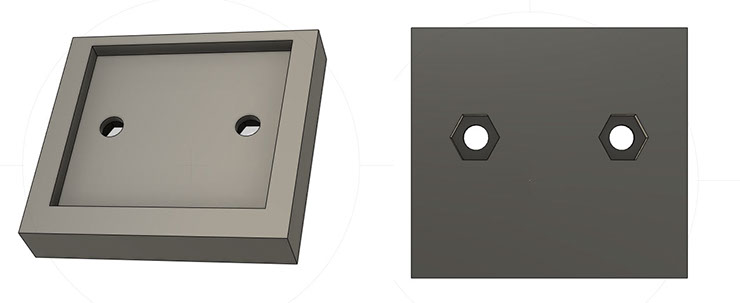
Attach‐lens‐bracket.stl
Bracket, with nuts under the metal plate
The underside
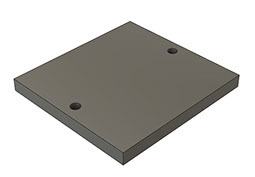
Camera‐mount‐cover.stl
The entire lens and camera are moved forward or backward to set the image to enlarge / reduce the image.