
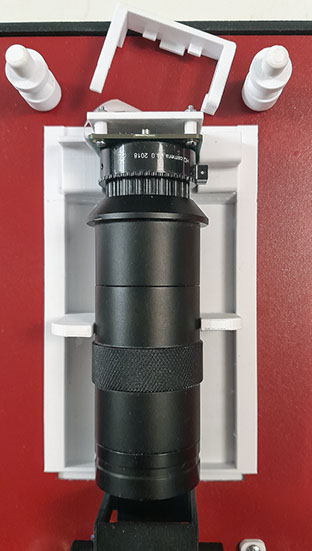
Attach‐lens.stl / lens adjustment.stl / Attach‐lens‐bracket.stl
The Raspberry PI camera flat cable that comes with, is too short replace it to a 300 mm or 500 mm

Bracket, with nuts under the top metal plate.
Glue the M6 nut
The underside

The entire lens and camera are moved forward or backward to set the image to enlarge / reduce the image.
lower-bracket.stl
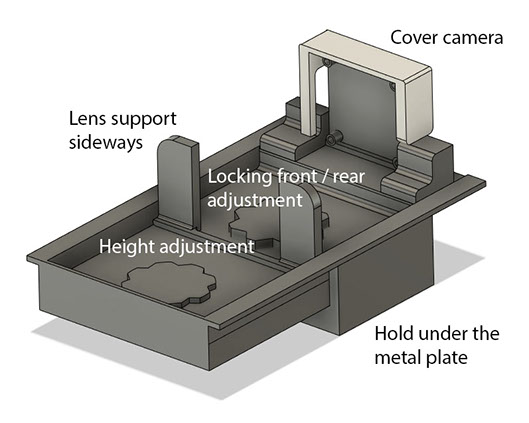

Red surface glue with super epoxy or other 2 component glue
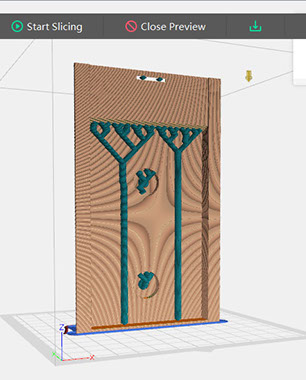
Lens-plate.stl
needs strong support
Front.stl
This is protection for not having to look down in the box not necessary but more elegant.
Mount the entire camera package attached Front.stl with double-sided tape from below
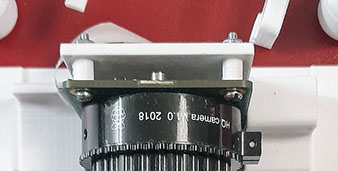
M2 X 12 or (best) M2.5 X 12 and nut 2 pcs.
The camera should only be attached to the top. It should be movable at the bottom
The extra ring grooved should be on
comes with the HQ camera on delivery
Important to know
- Sharpening the ring on the lens is not what it is zoom
the focus is set by dragging the entire camera package from o back.
Set the image size as follows
Pull the camera forward so that it comes as close to the film as possible
then turn the zoom ring farthest to the left in the direction of the camera. Then rotate until the image reaches the desired size, adjust the focus by dragging the camera back and, if necessary, turn the zoom slightly further.
Adjust the height of the camera to cover the image and part of the film perforation.
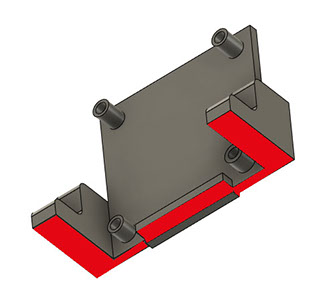
Glue red marked surfaces with Super Epoxy and press into the notch on the plate

M6X10 and M6X25