
T-Scann 8 - project page
Super 8 / Regular 8 film scanner
FilmGate 2026 version
What is new is better film guiding "Film guiding extra" second update 2026
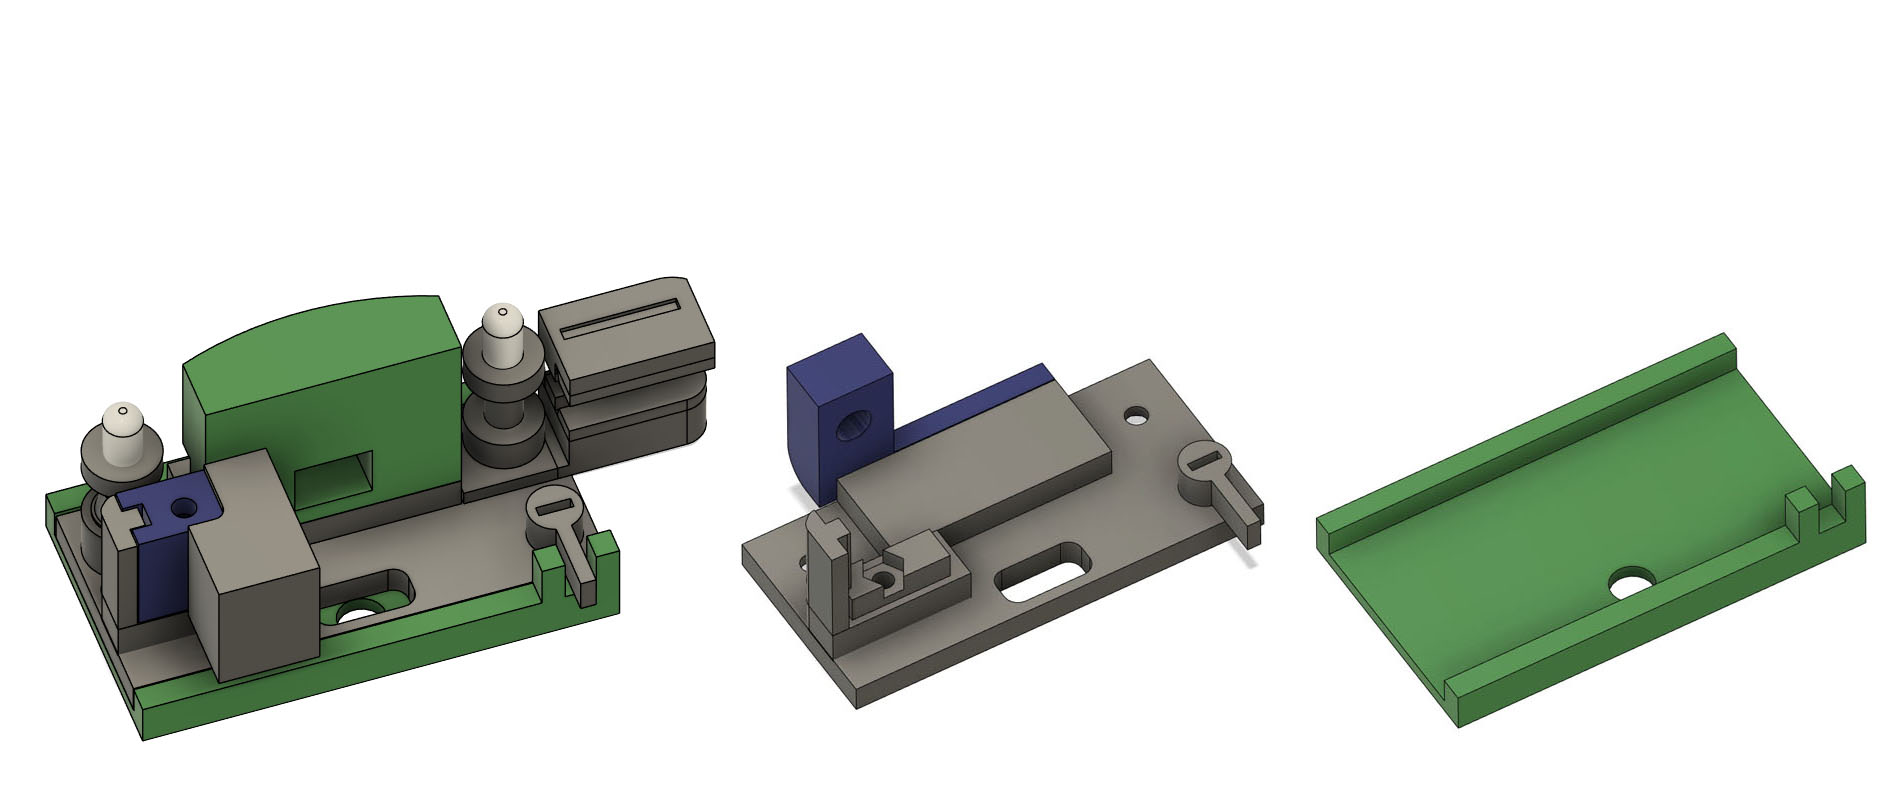
The parts FilmGate, Ground ‐ gate, Phototrans‐lower and White ‐ Led ‐
attachment are glued together with Super epoxy or similar, glue part by
part and let dry
An Insex screw M6 X 15mm is inserted in the elongated hole. This
goes through the plate to the "Filmgate ‐ bolt ‐ bracket" and an M6
nut.
Filmgate is glued together
The handle is only pressed down into the hole.
FilmGate-GuidingRight.stl (and Left) are attached with M3 screw from the bottom side and M3 nut on the top side
It is important that the FilmGate runs easily and smoothly in the base plate. File edges on both.
This is the bottom plate where FilmGate slides sideways. Attach it to the top plate with a few smaller pieces of double-sided tape.
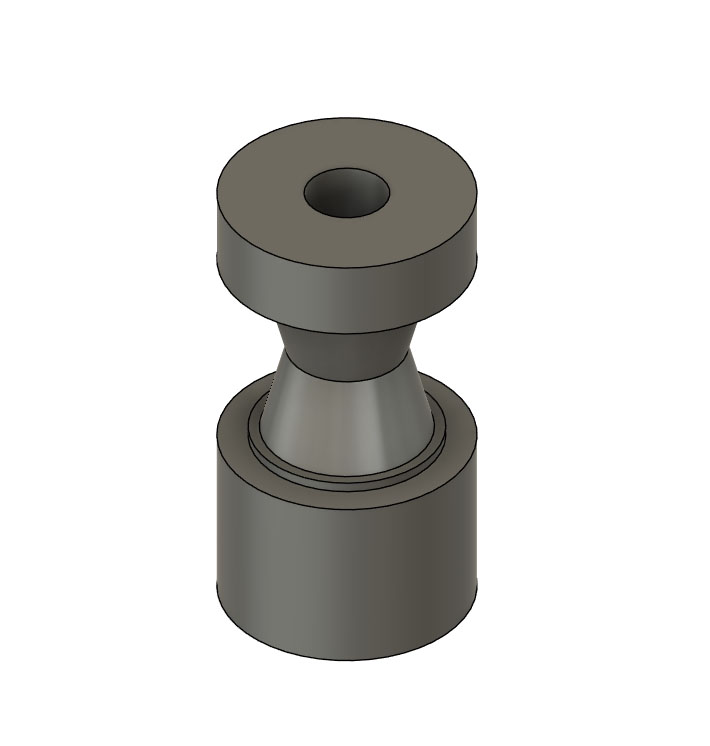
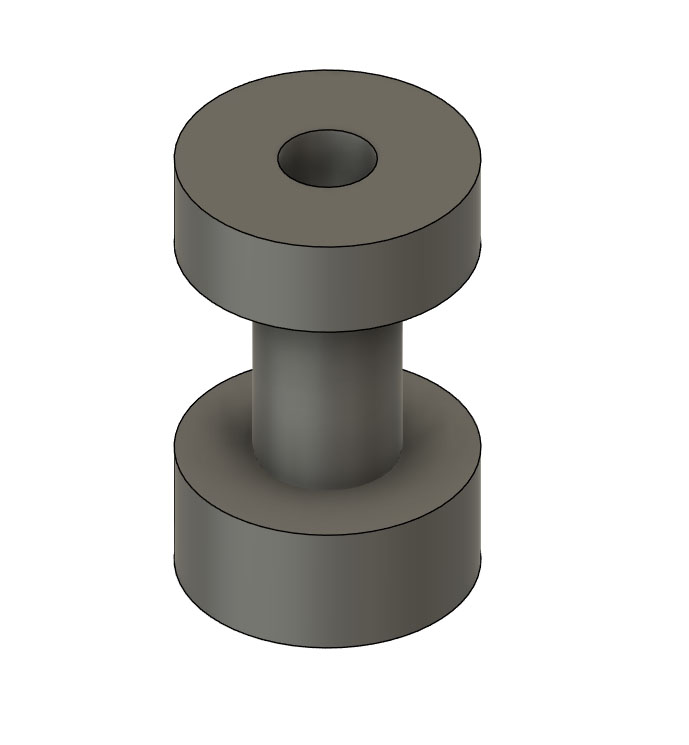
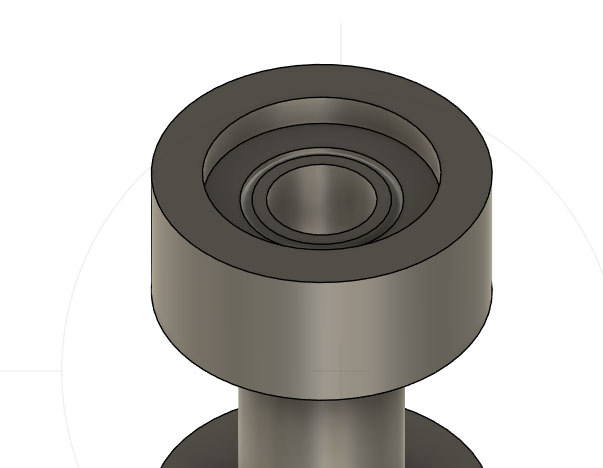
FilmGate-GuidingRight-A and B parts are glued together with a small drop of superglue. It should stick like in the picture. Be careful so that the film runs nicely over the wheel
FilmGate-GuidingLeft.stl
FilmGate-GuidingRight-A + B
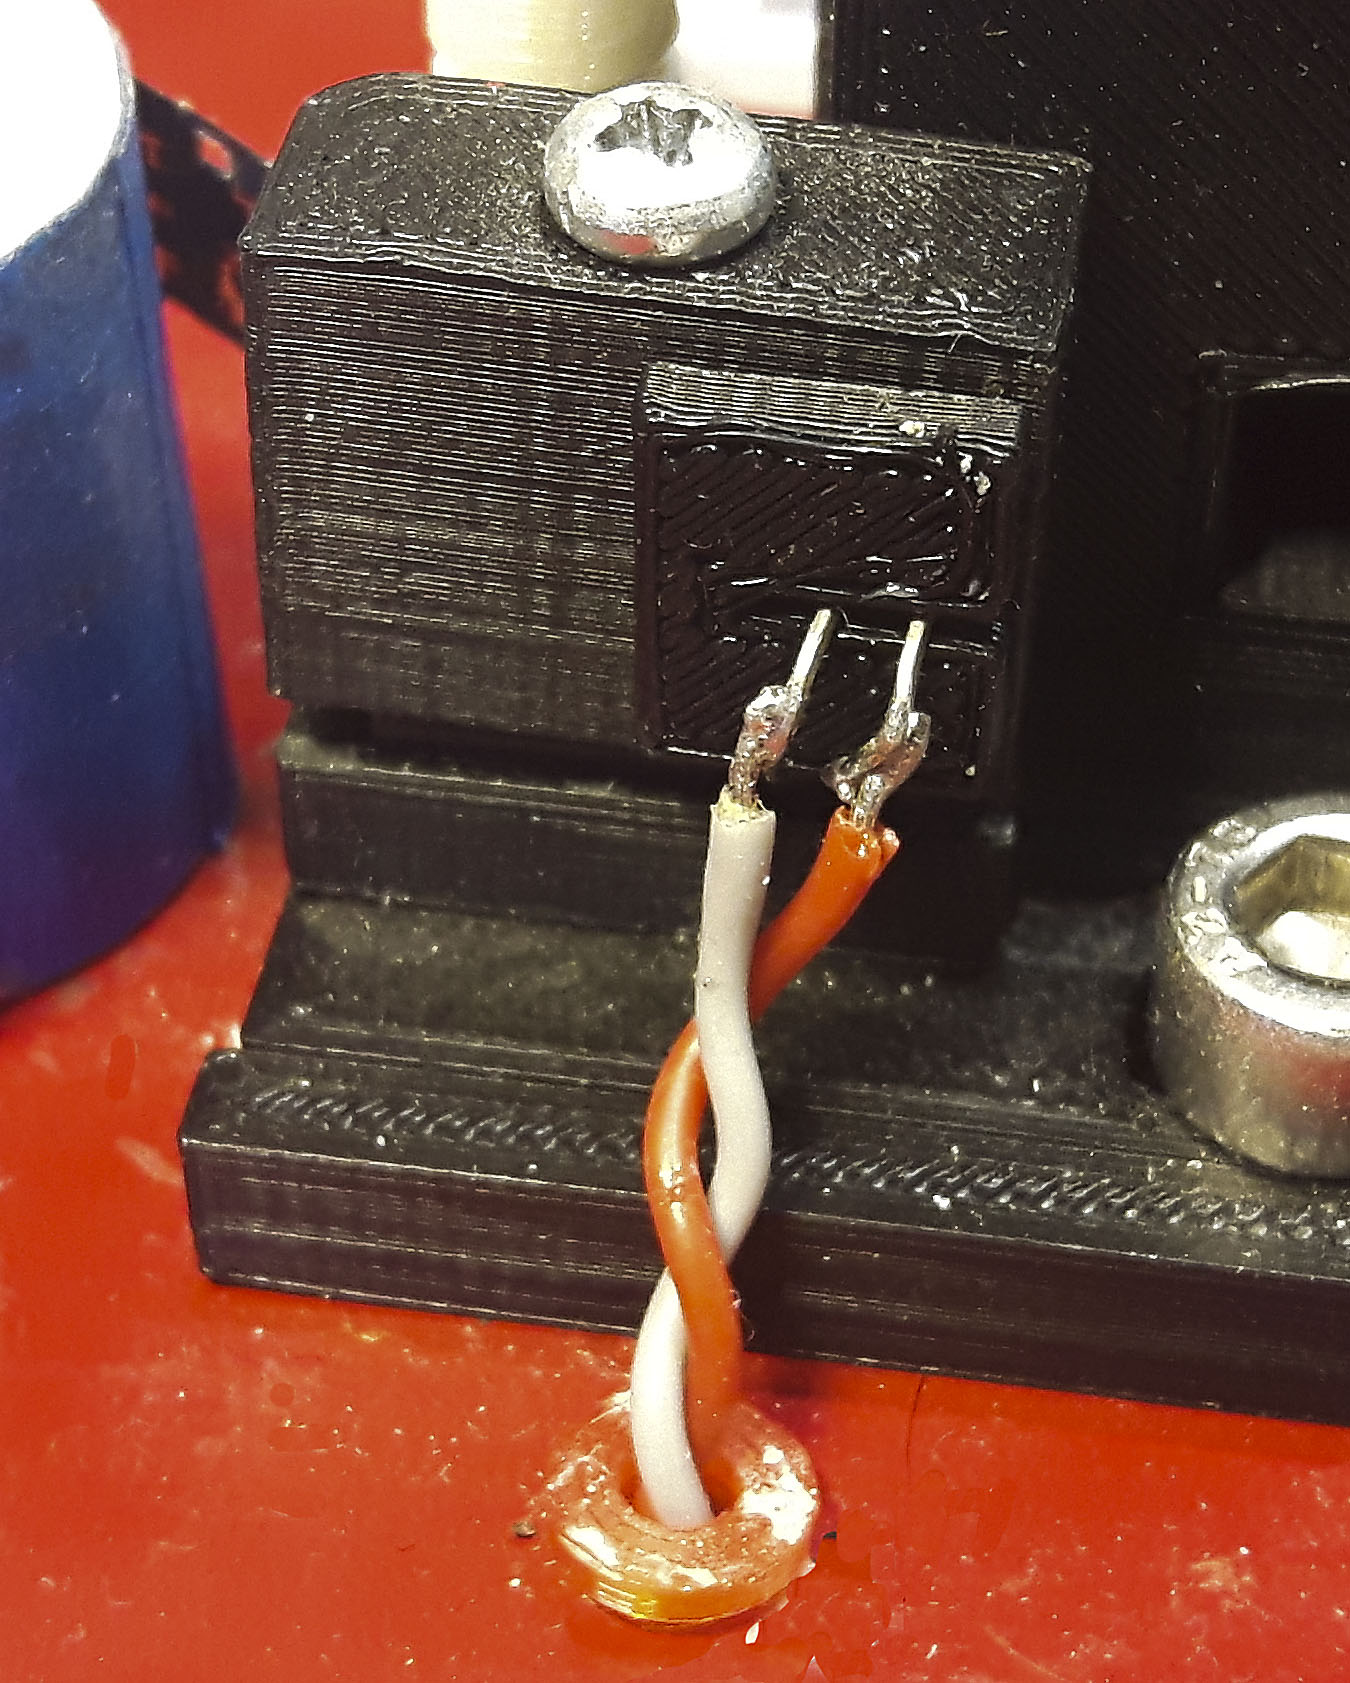
UV LED if it doesn't stay in the hole by itself put some glue very little on the side. If you want to be able to loosen it
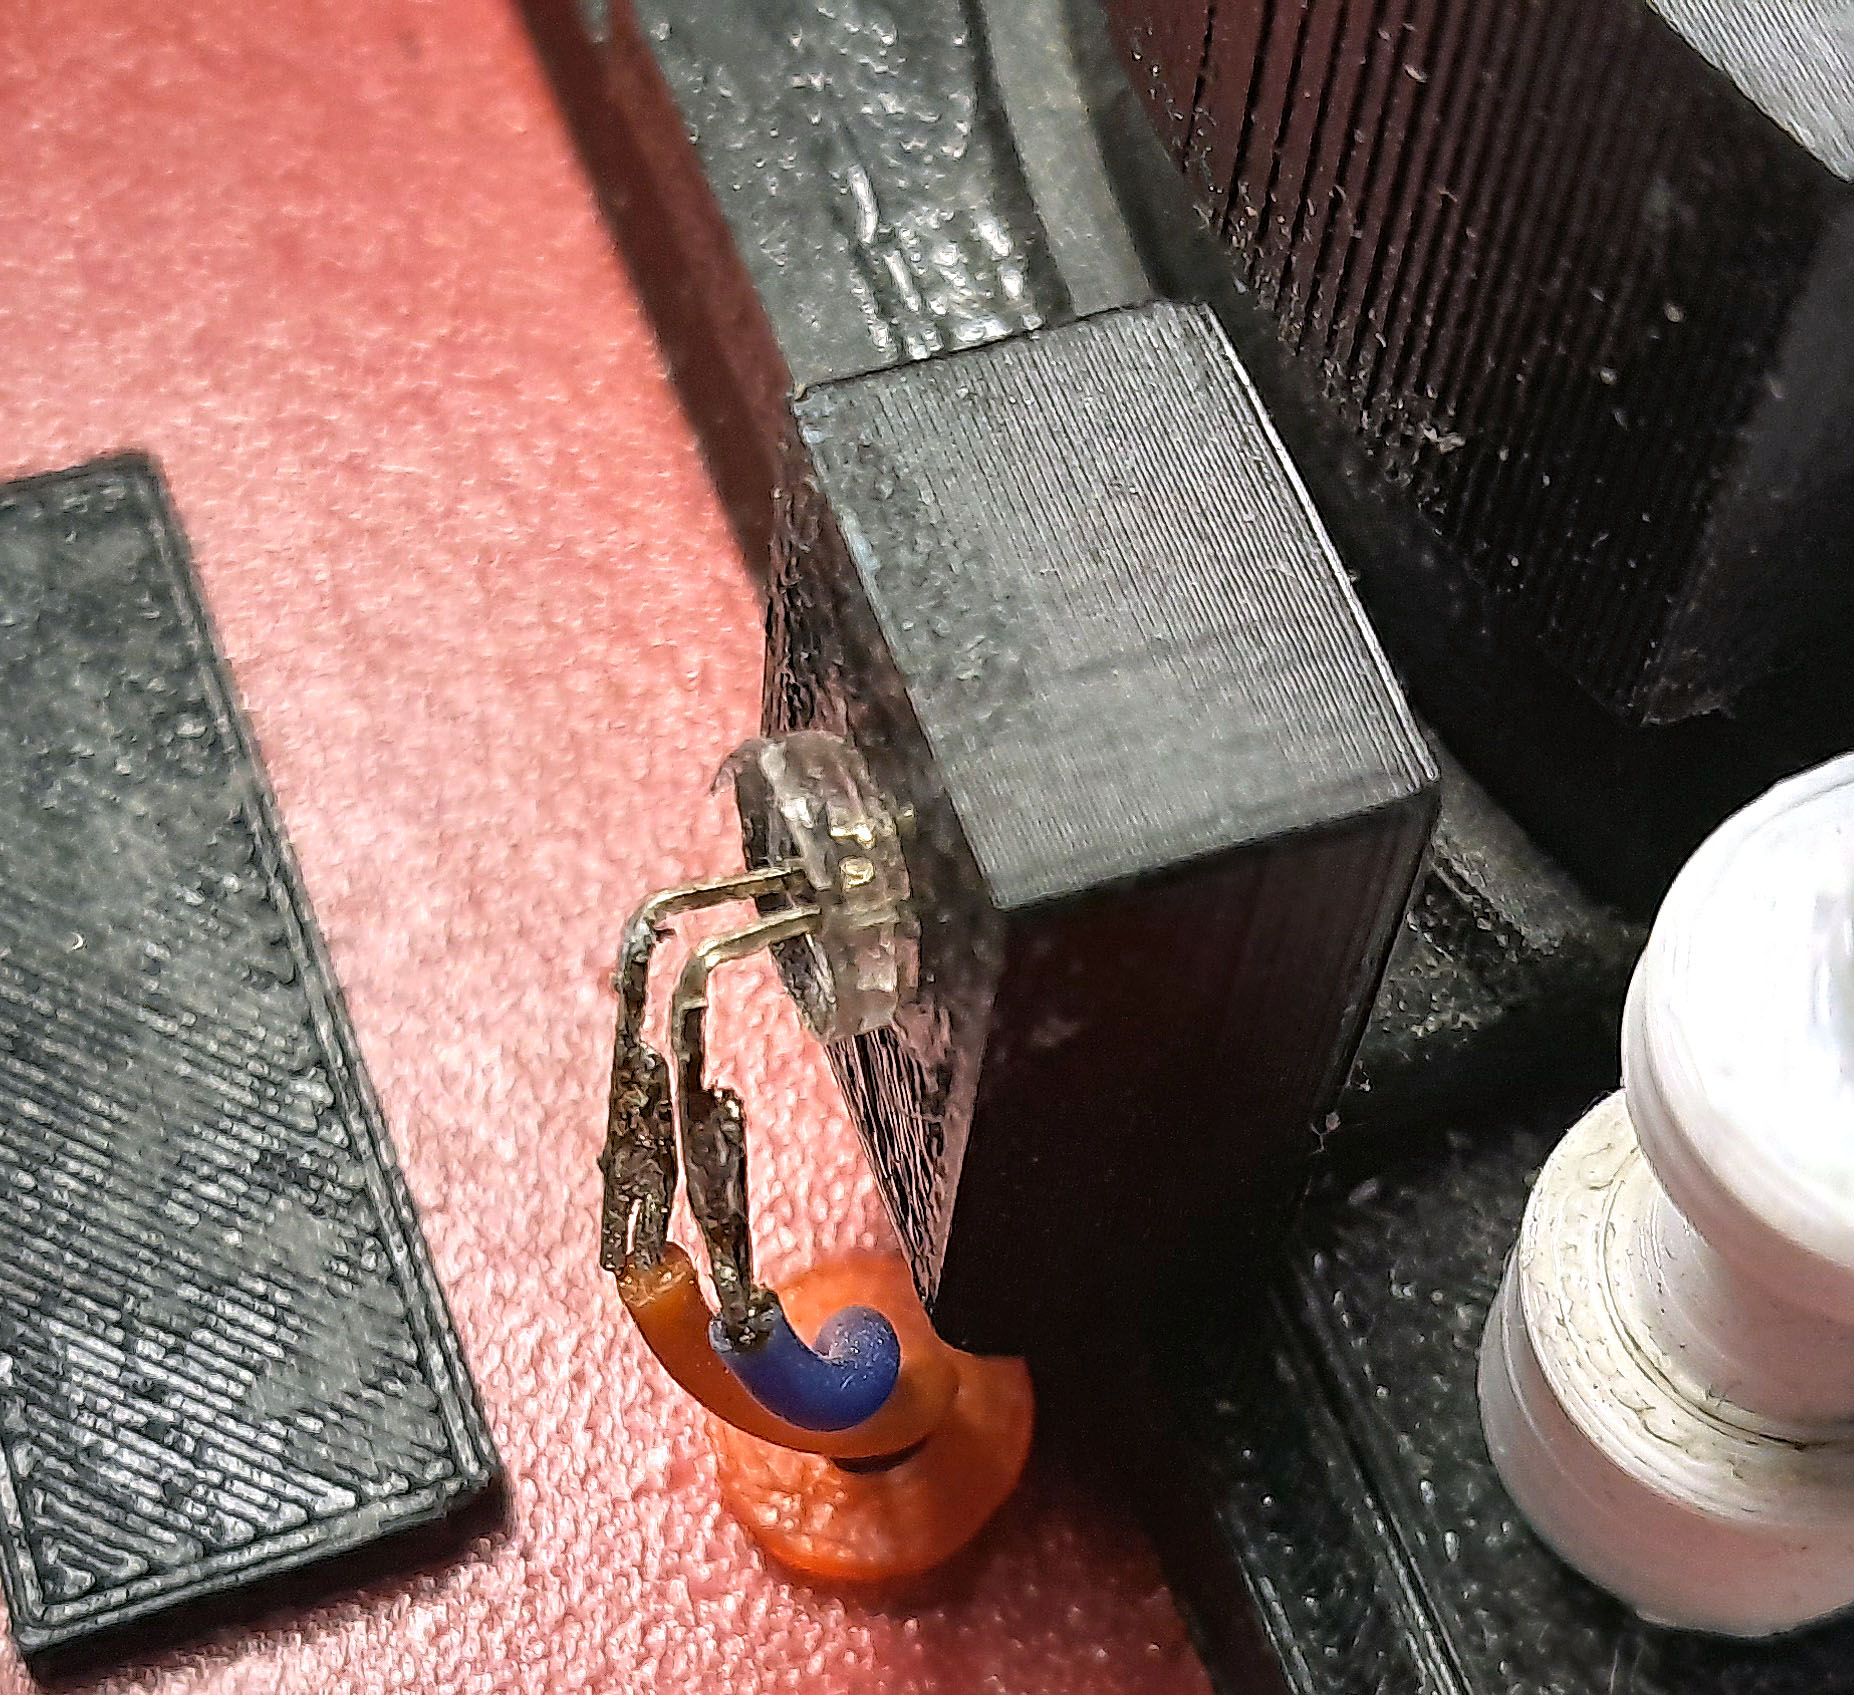
Phototrans-Extra-protection.stl this is inserted between the Phototransistor and its connecting pins.
Here we use the same aluminum foil, to cover the phototransistor.
Make a small hole with a sewing needle or something so that there is a
hole about
0.3 mm. Now the phototransistor registers only a small part
of the film perforation.
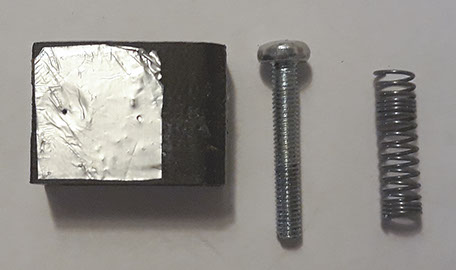
Screw M3 x 19mm and spring from a ballpoint pen, used for height adjustment, plug in screw from top then wood on screw below.
This is the lower bracket, for the part that holds the phototransistors. It is an M3 nut that is glued with Super epoxy or similar 2 component glue and then pressed
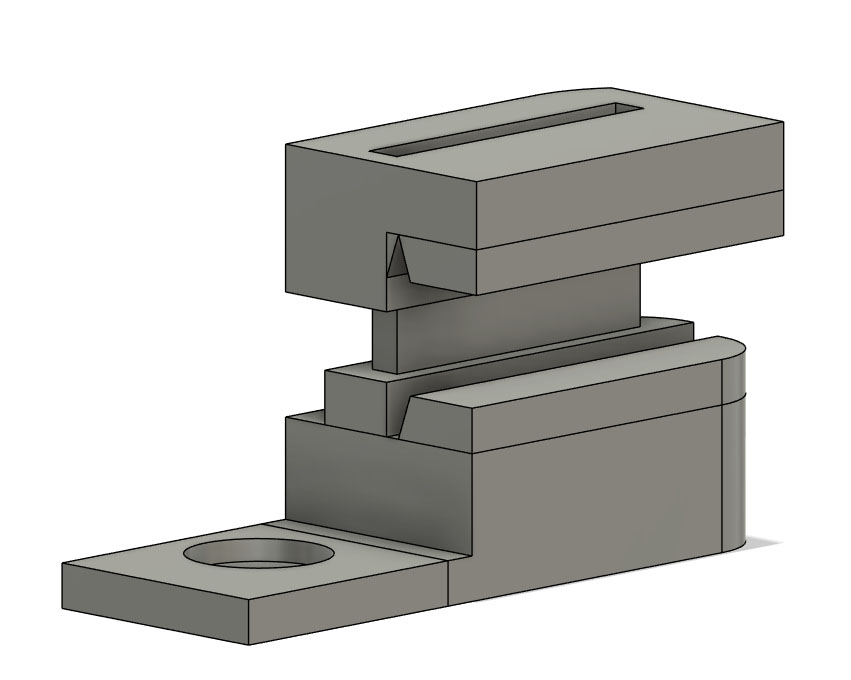
FilmGuidingExtra-A.stl and FilmGuidingExtra-B.stl
The film runs in the groove, the upper part just rests on the film. With this, the film does not move sideways.
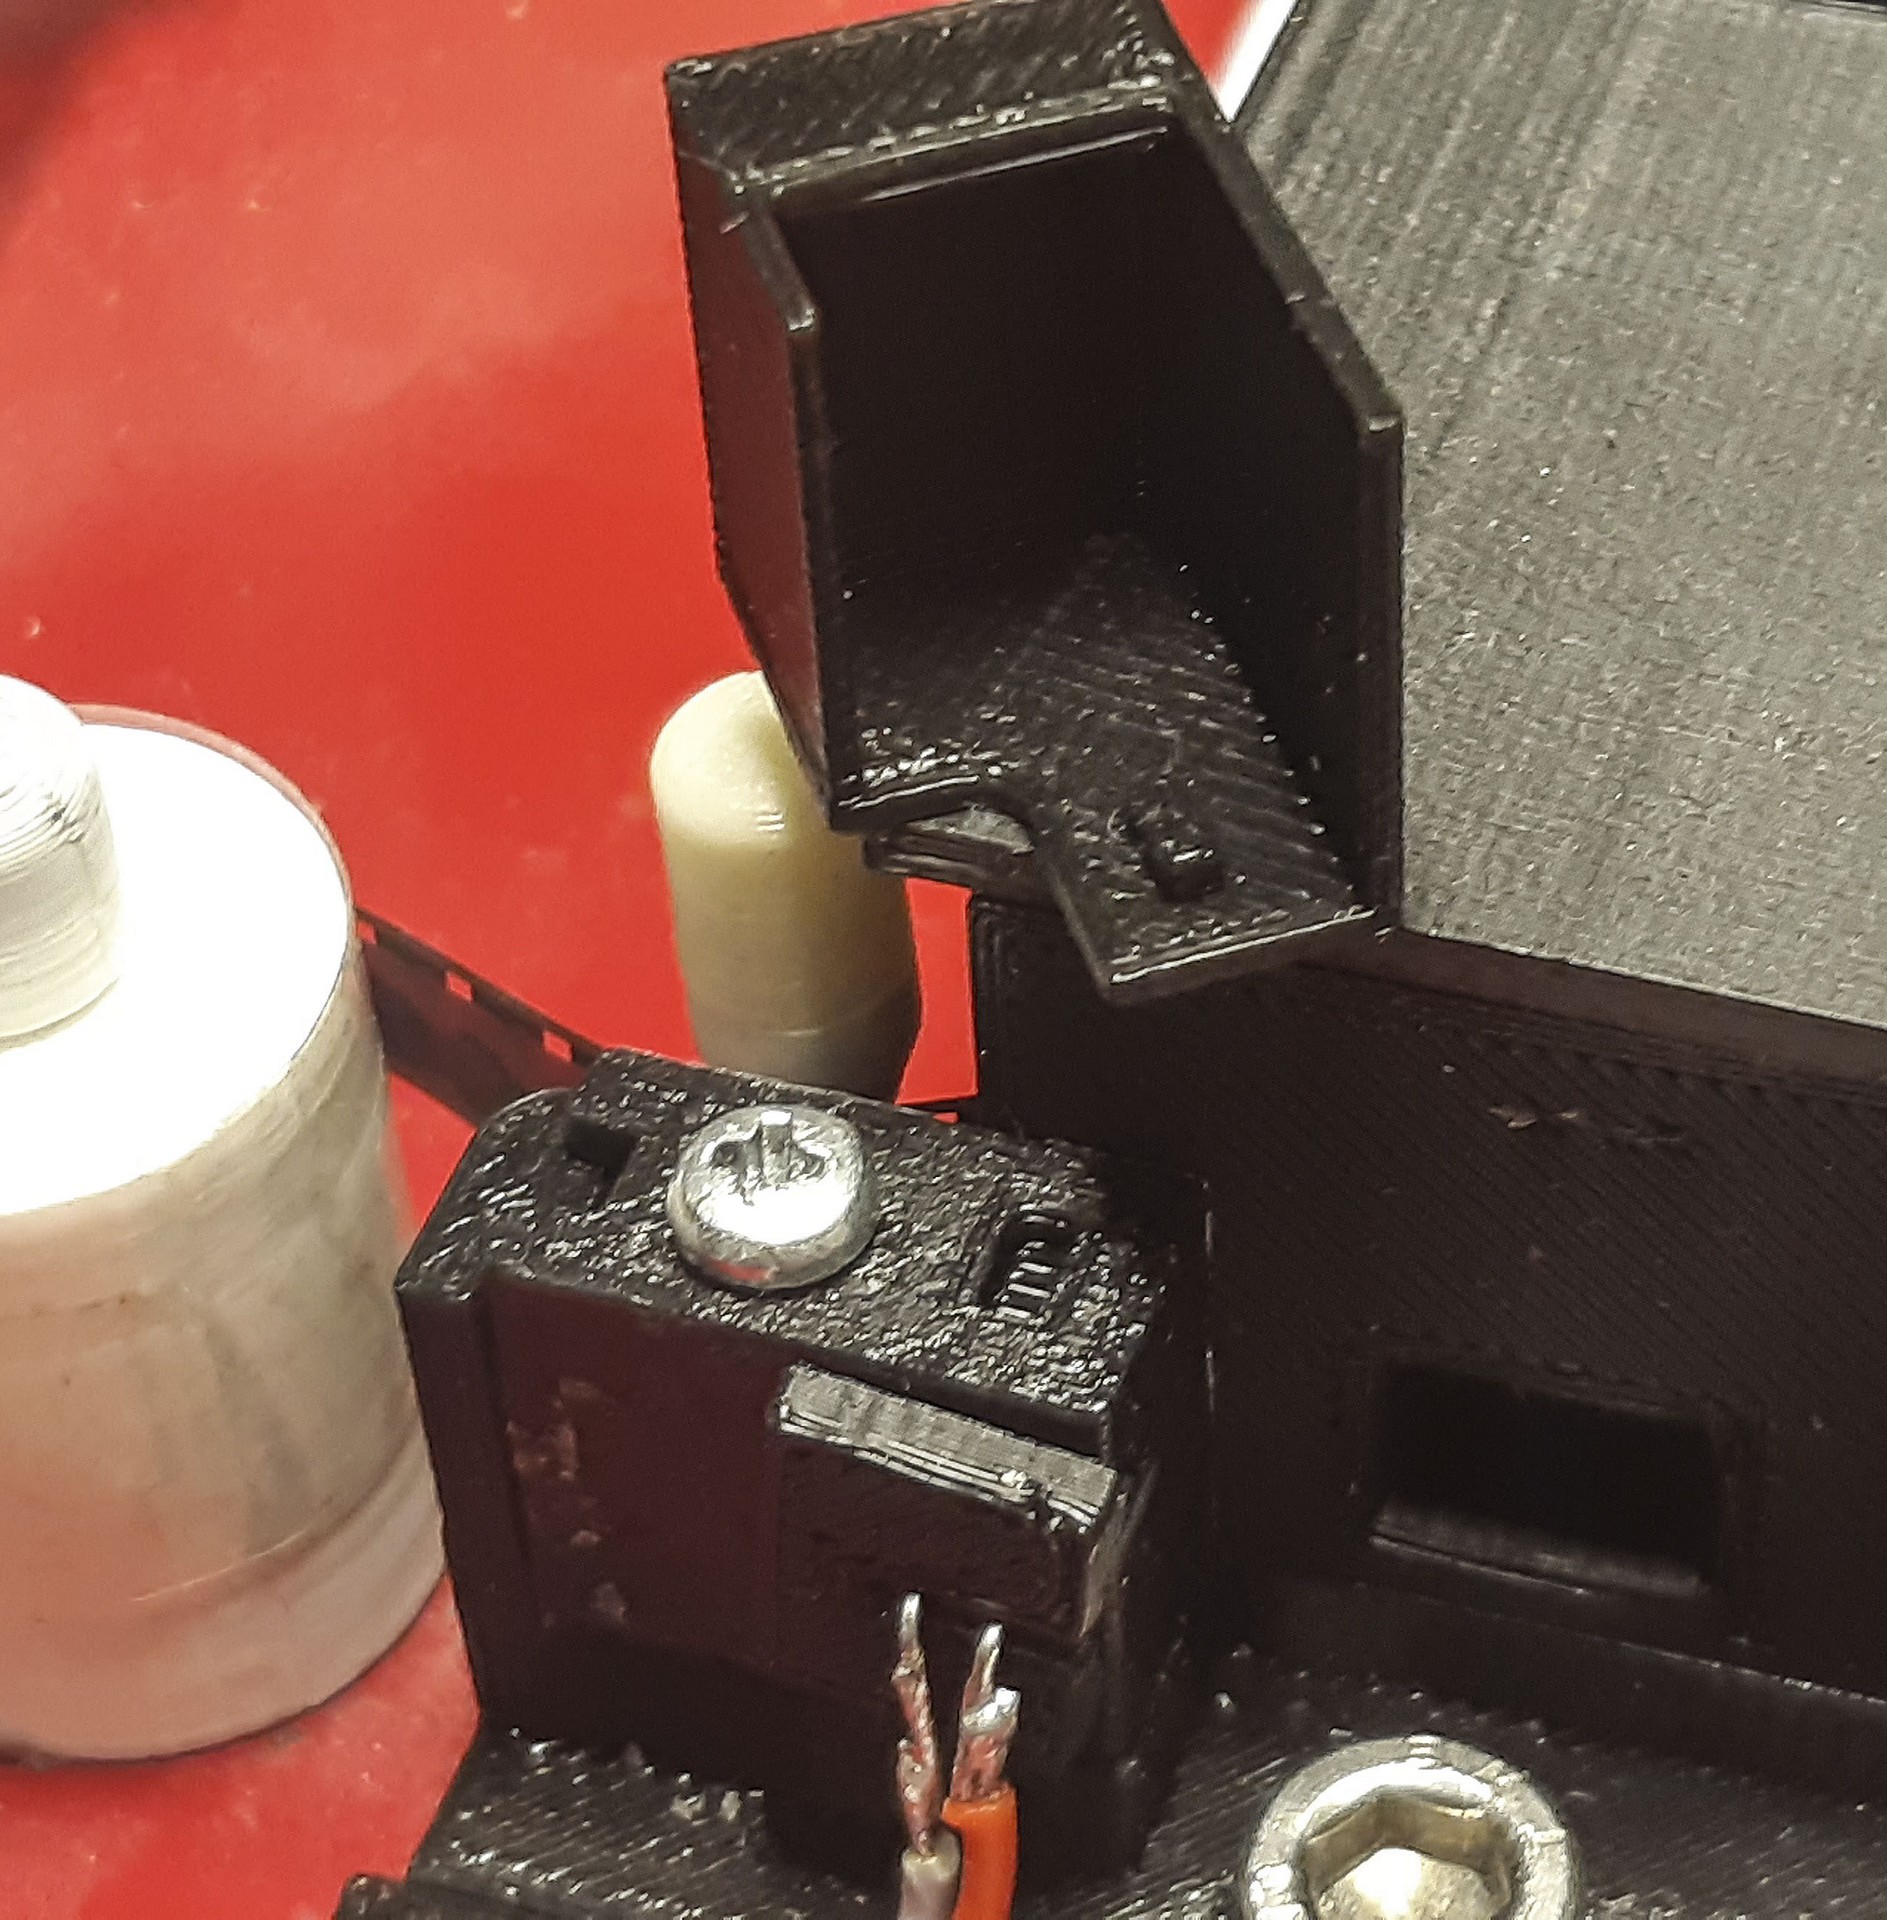
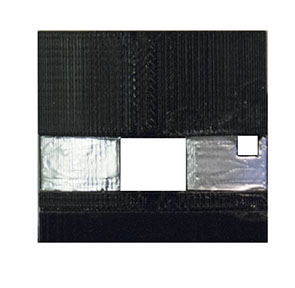
Try with a film strip that the film runs easily and smoothly, if not file the lower part do not file too much so it is loose in height. Also try with the white starting strip at the beginning of the film may be slightly thicker. When you are happy, take a coarse sandpaper and polish on the film web so it becomes a little smoother. Normally, such parts are made of metal, but we solve this with thin aluminum foil as used in the kitchen. Apply some glue and then glue on the aluminum foil, cut off excess foil with a sharp knife. The plastic layer on the film will run over the aluminum foil, the emulsion on the film then ends up closest to the camera.
Phototrans‐protection
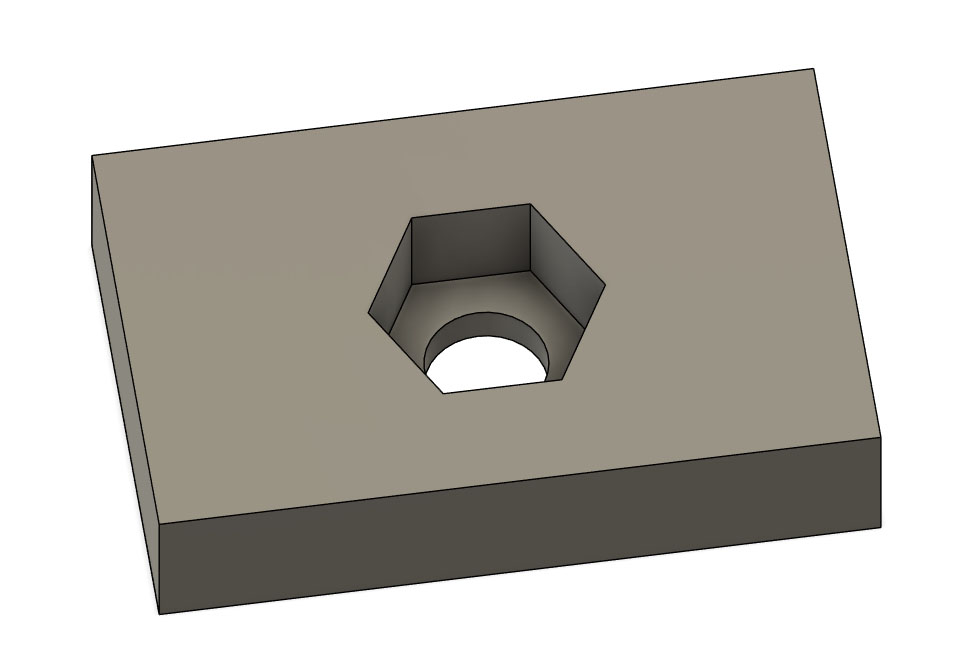
This nut holder is attached under the top plate with strong double-sided adhesive tape or glued with M6 nut in the socket. Placed under Bottom ‐ plate.stl
FilmGate.stl