
T-Scann 8 - project page
Super 8 / Regular 8 film scanner
Film facts and Tips
These are 15 meter rolls, as they came from development.
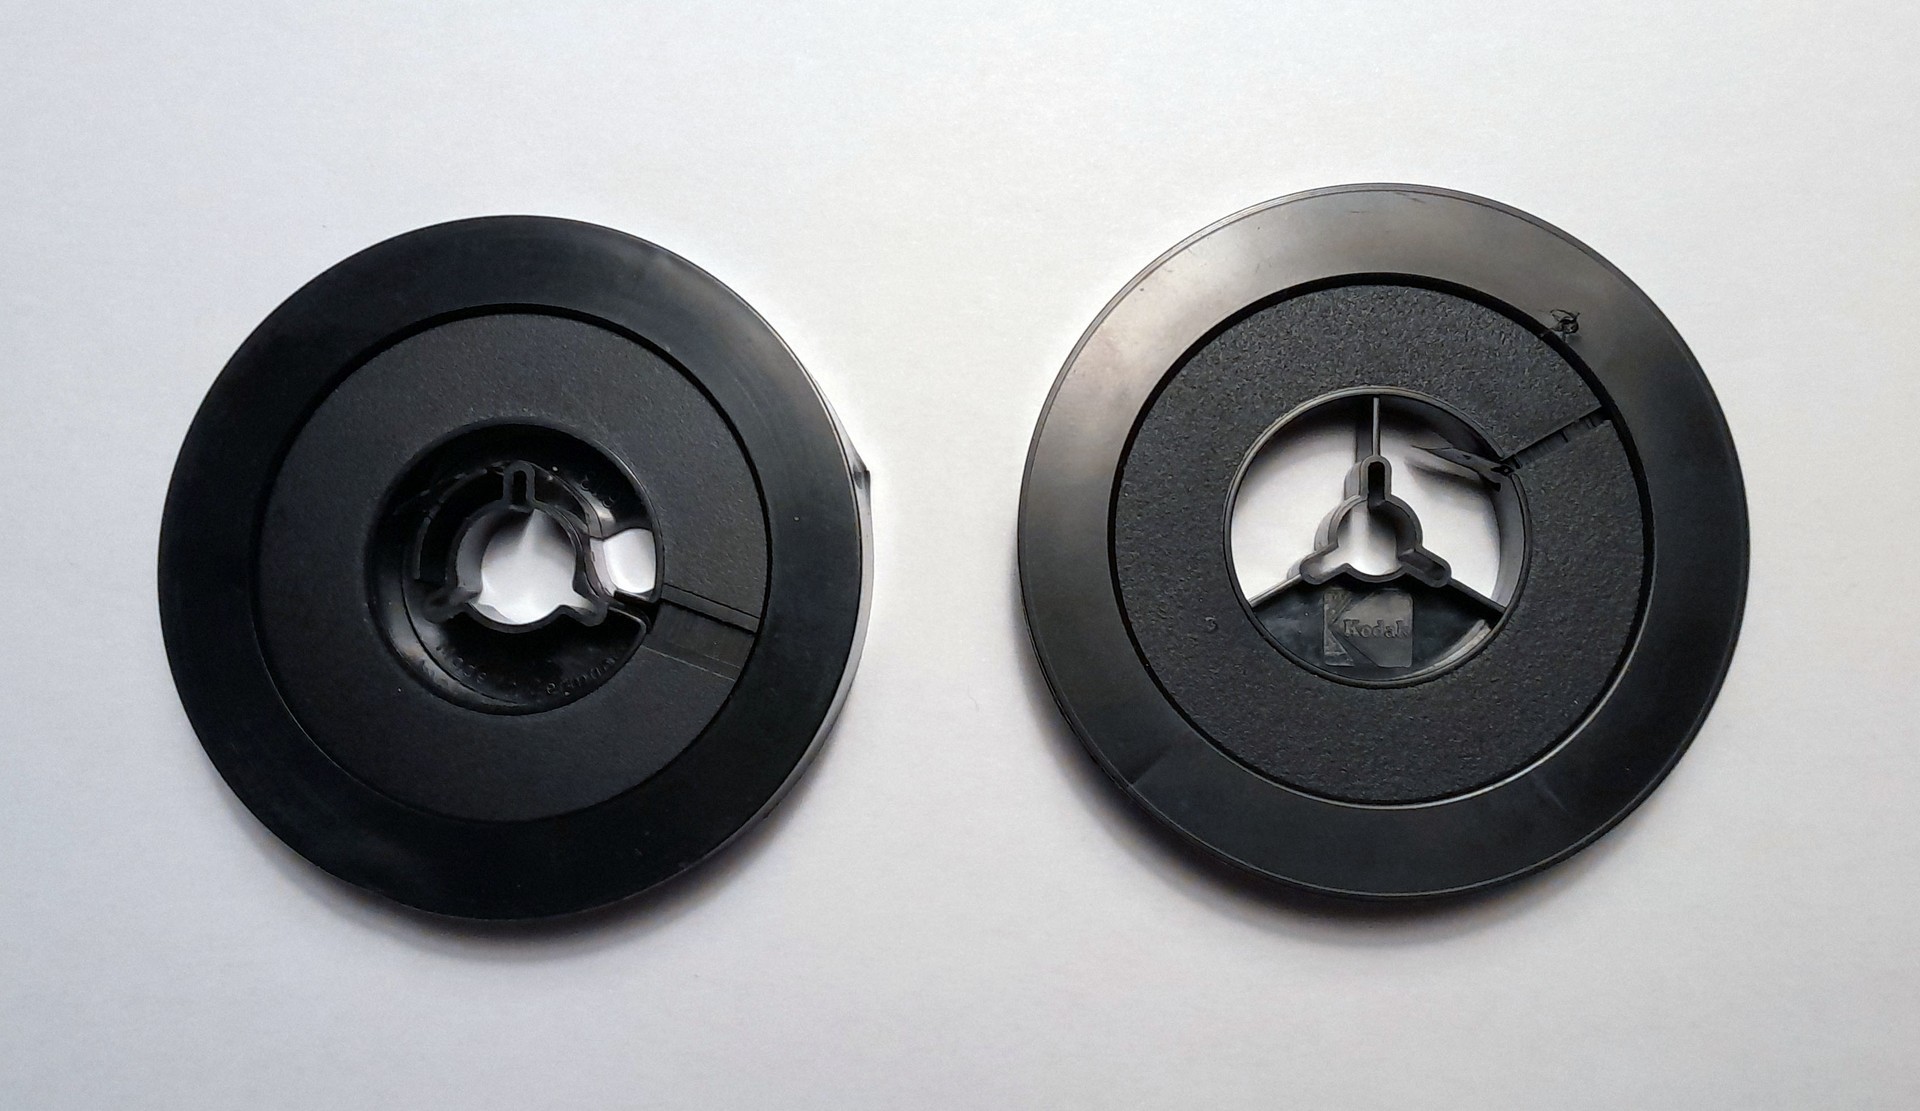
Regular 8
Super 8
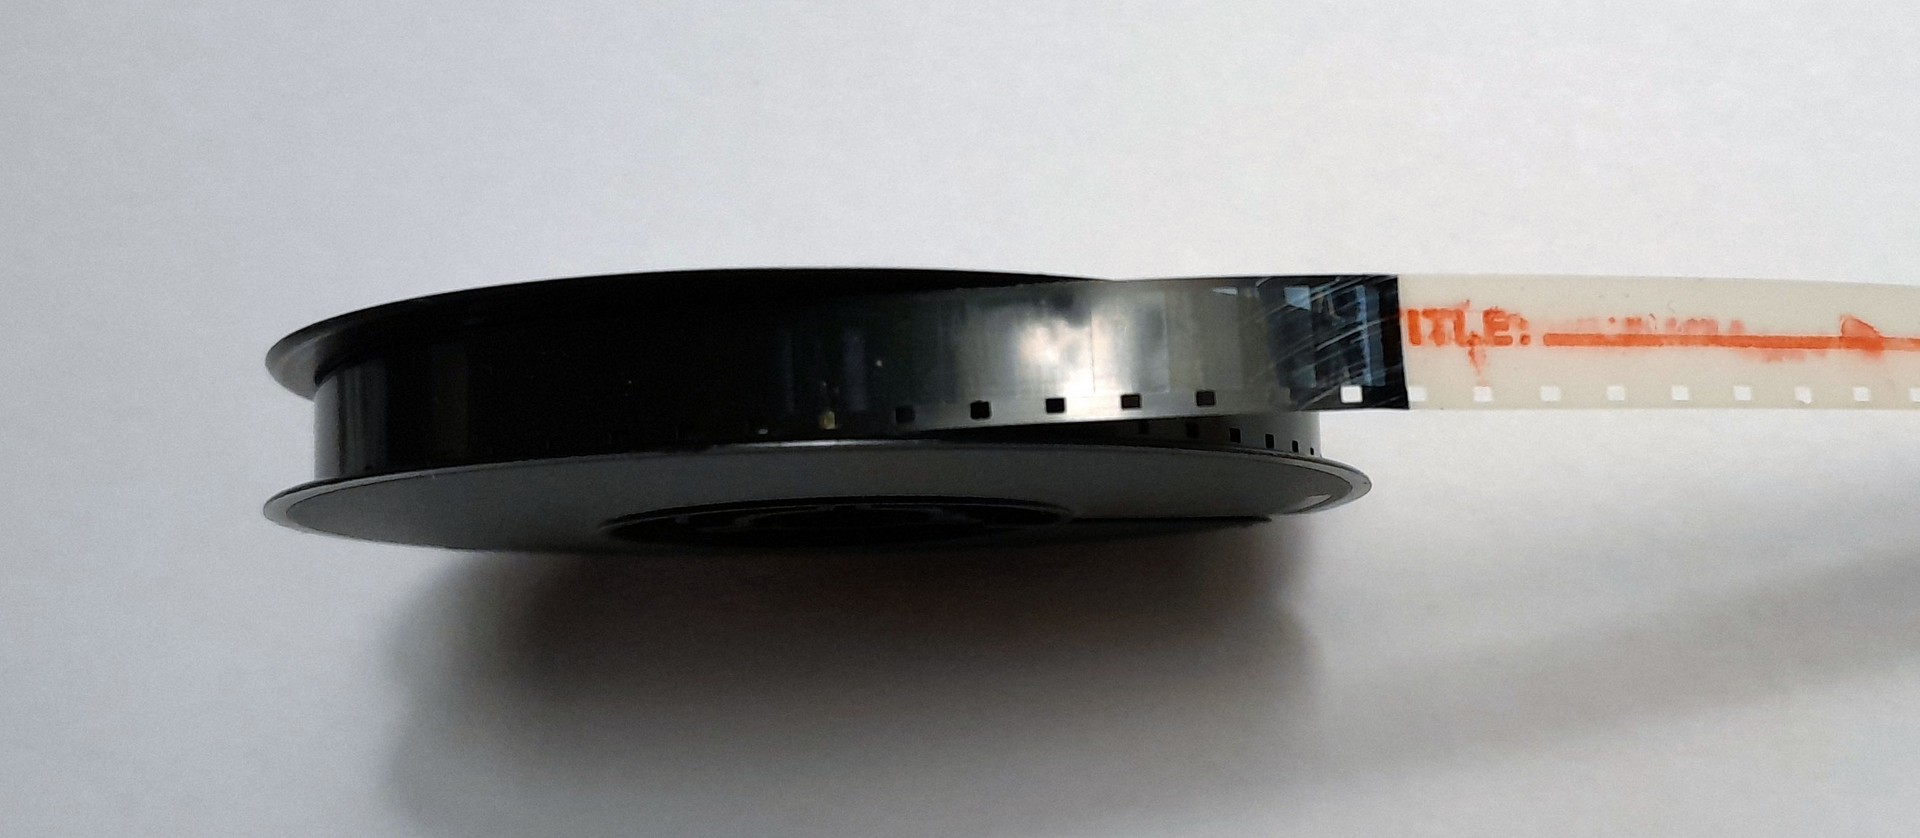
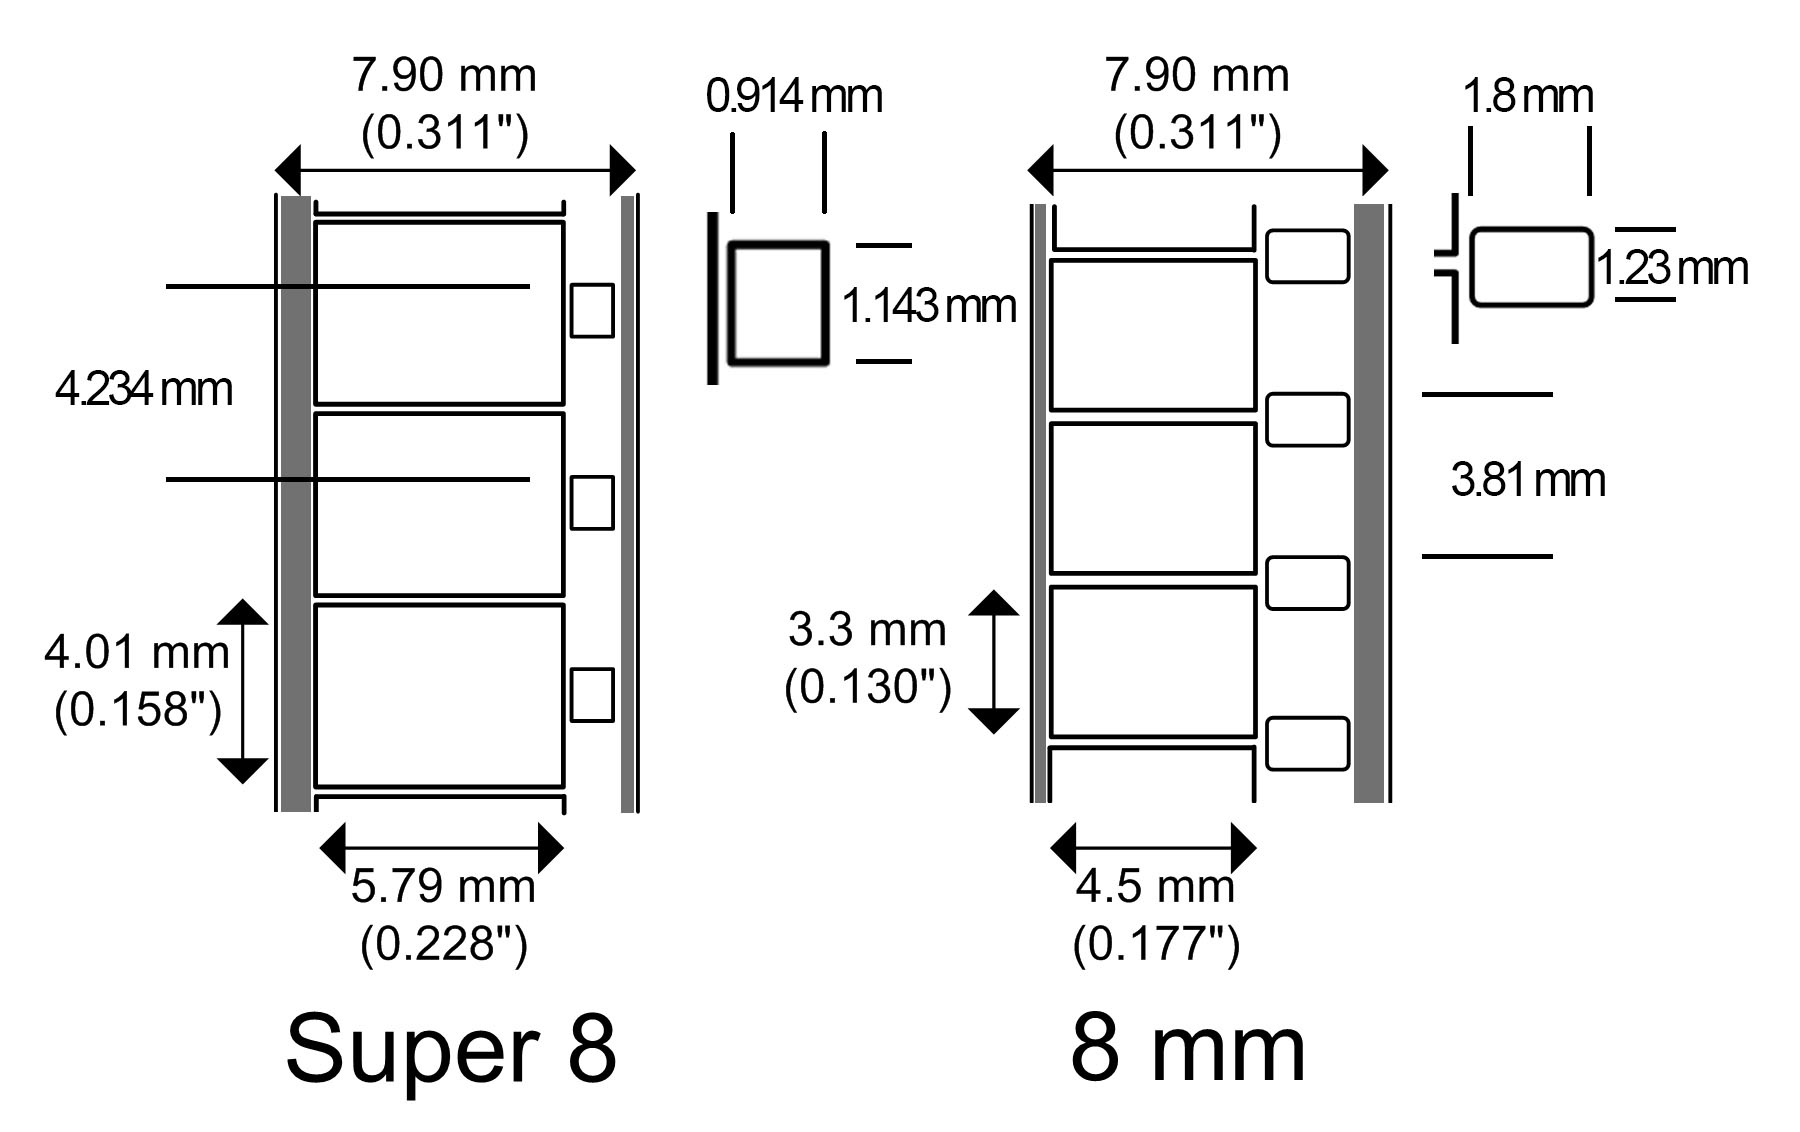
The Super 8 format was launched by Kodak in 1965. The novelty was that the film was in a cassette for easy loading into the camera, unfortunately the pressure plate was integrated into the cassette which could cause poor sharpness. Fuji launched the same year Single 8 in a technically better cassette with a pressure plate in the camera. Both formats have the same perforation and image format. In 1973 Kodak launched a sound version of Super 8.
The Danish company Logmar Camera Solutions manufactured the Logmar S-8 in 2014-2015 in only 50 copies. A very good camera with a pressure plate in the camera. Read about it and see film clips
https://logmar.dk/chatham/
Super 8 film is still produced today, but not the original Kodachrome. Kodak stopped producing this type of film as recently as 2012.
Regular 8 was launched by Kodak in 1932 when it was only in black and white, in 1936 it came in color Kodachrome. Regular 8 came on a 16mm wide film, when the roll was finished you had to turn the film over and continue filming on the other half. There have been cassettes that you had to load yourself so you didn't have to load in the field. The development lab split the film and spliced the two parts together and delivered as 8mm film. The advantage of the Regular 8 camera was that it had a built-in pressure plate, 16 and 35mm cameras always have this.
This is super 8 film, on the outside of the film is the film layer which is the sensitive part. The back is the film base where scratches on the film usually occur.
The film base is facing the film gate on the T-Scan 8, in the same way as a regular film projector
Scratches can be removed to some extent with Filmrenew or Filmguard, however these are quite expensive. A cheaper alternative is isopropyl alcohol which is not as good. Isopropyl alcohol is also used for wetgate, filling in scratches on the film as long as the film is wet. There are advanced systems for professional scanners. I have seen simpler DIY solutions.and my own version - read here -
To test the precision of the frame advance on the T-Scann 8.
You can make a completely transparent film and completely black yourself. Completely transparent is good for calibrating the light level on the UV-led so that the film's pin holes can be detected. Black film test under optimal conditions how the scanner detects the pin holes. There are films that are perfect, but usually it is more or less light between the pin holes.
Some films turn red
If your films are Kodachrome, they have probably done well. But then you could buy cinema film, cartoons, etc. These were copied to Super 8 on copy film (Kodak Eastmancolor) which was not at all as durable in color. This type of film was available until the end of the 70s. A lot of these films are red due to the chemical structure. The reason is that the cyan and yellow layer broke down faster and what was left then became magenta (red). If it has not gone too far, this can be color corrected in connection with scanning the film, if it is really bad, you have to make the film black and white. This was a problem for 16 and 35mm film too
It is possible to read on the film when it was manufactured (note Kodak film) 2 rings mean 1919 1939 1959 1979 the same marking returns in 20-year intervals we know that the first super 8 film came out in 1965. So it can't be anything other than 1979. With Regular 8 it becomes a little more difficult so then you have to look at the picture and judge which decade.
https://www.kodak.com/content/products-brochures/Film/Guide-to-Identifying-Year-of-Manufacture-for-KODAK-Motion-Picture-Films.pdf
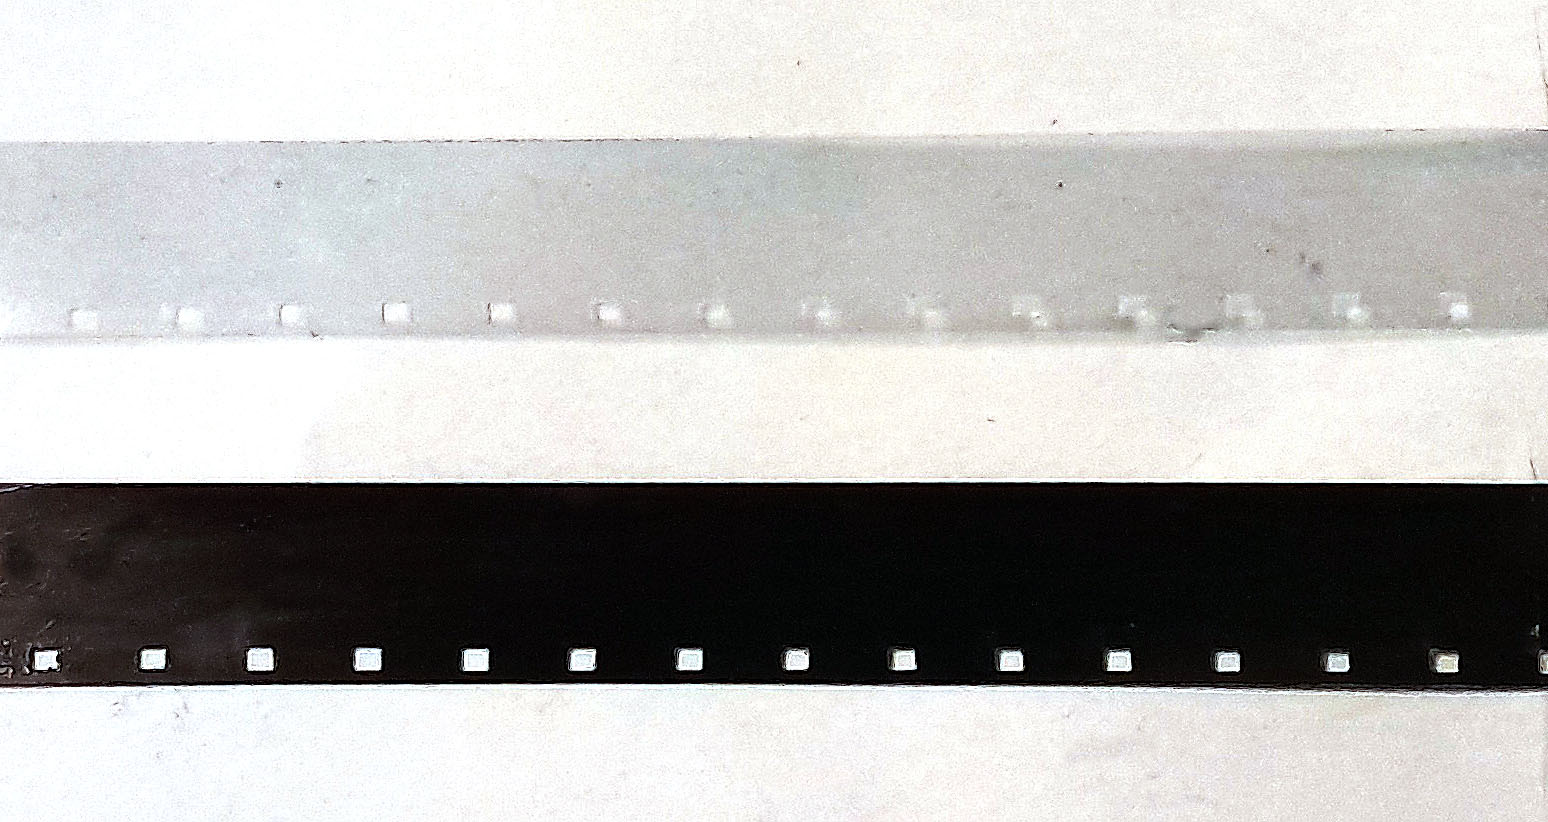
Do this because Kodachrome is very durable, we use Household bleach / Clorox / Chlorine / Klorin.
Take a piece of cut film, put it in a glass jar or similar and pour on Chlorine, shake a little after about 1 - 1 1/2 minutes, the film will turn blue, then just peel it off with warm water and wipe off the emulsion with your fingers or paper. Wipe with paper and let dry.
Make black film take a piece of cut film paint with a black marker, it should be of the permanent type. Paint on both sides of the film and let dry.
If you have limited cut-off film, you can put Head Leader at the beginning and end of the film. You can splice the film with regular transparent tape, T-Scann 8 does not use pin holes to pull the film forward.